Overview
Latent lets you attach your scanned images directly to each shooting log, keeping your visual records alongside the metadata that describes them. Once uploaded, images are stored securely and can be viewed in a full-screen lightbox, included in contact sheets, and accessed from any device.
This guide covers the upload process, how compression works, how to view and manage your images, and what to keep in mind regarding your plan's storage limits.
Uploading Images to a Shooting Log
To upload images, open the shooting log you want to add images to. On the log detail page, locate the Images section. Drag and drop image files onto the upload area, or click to open a file picker.
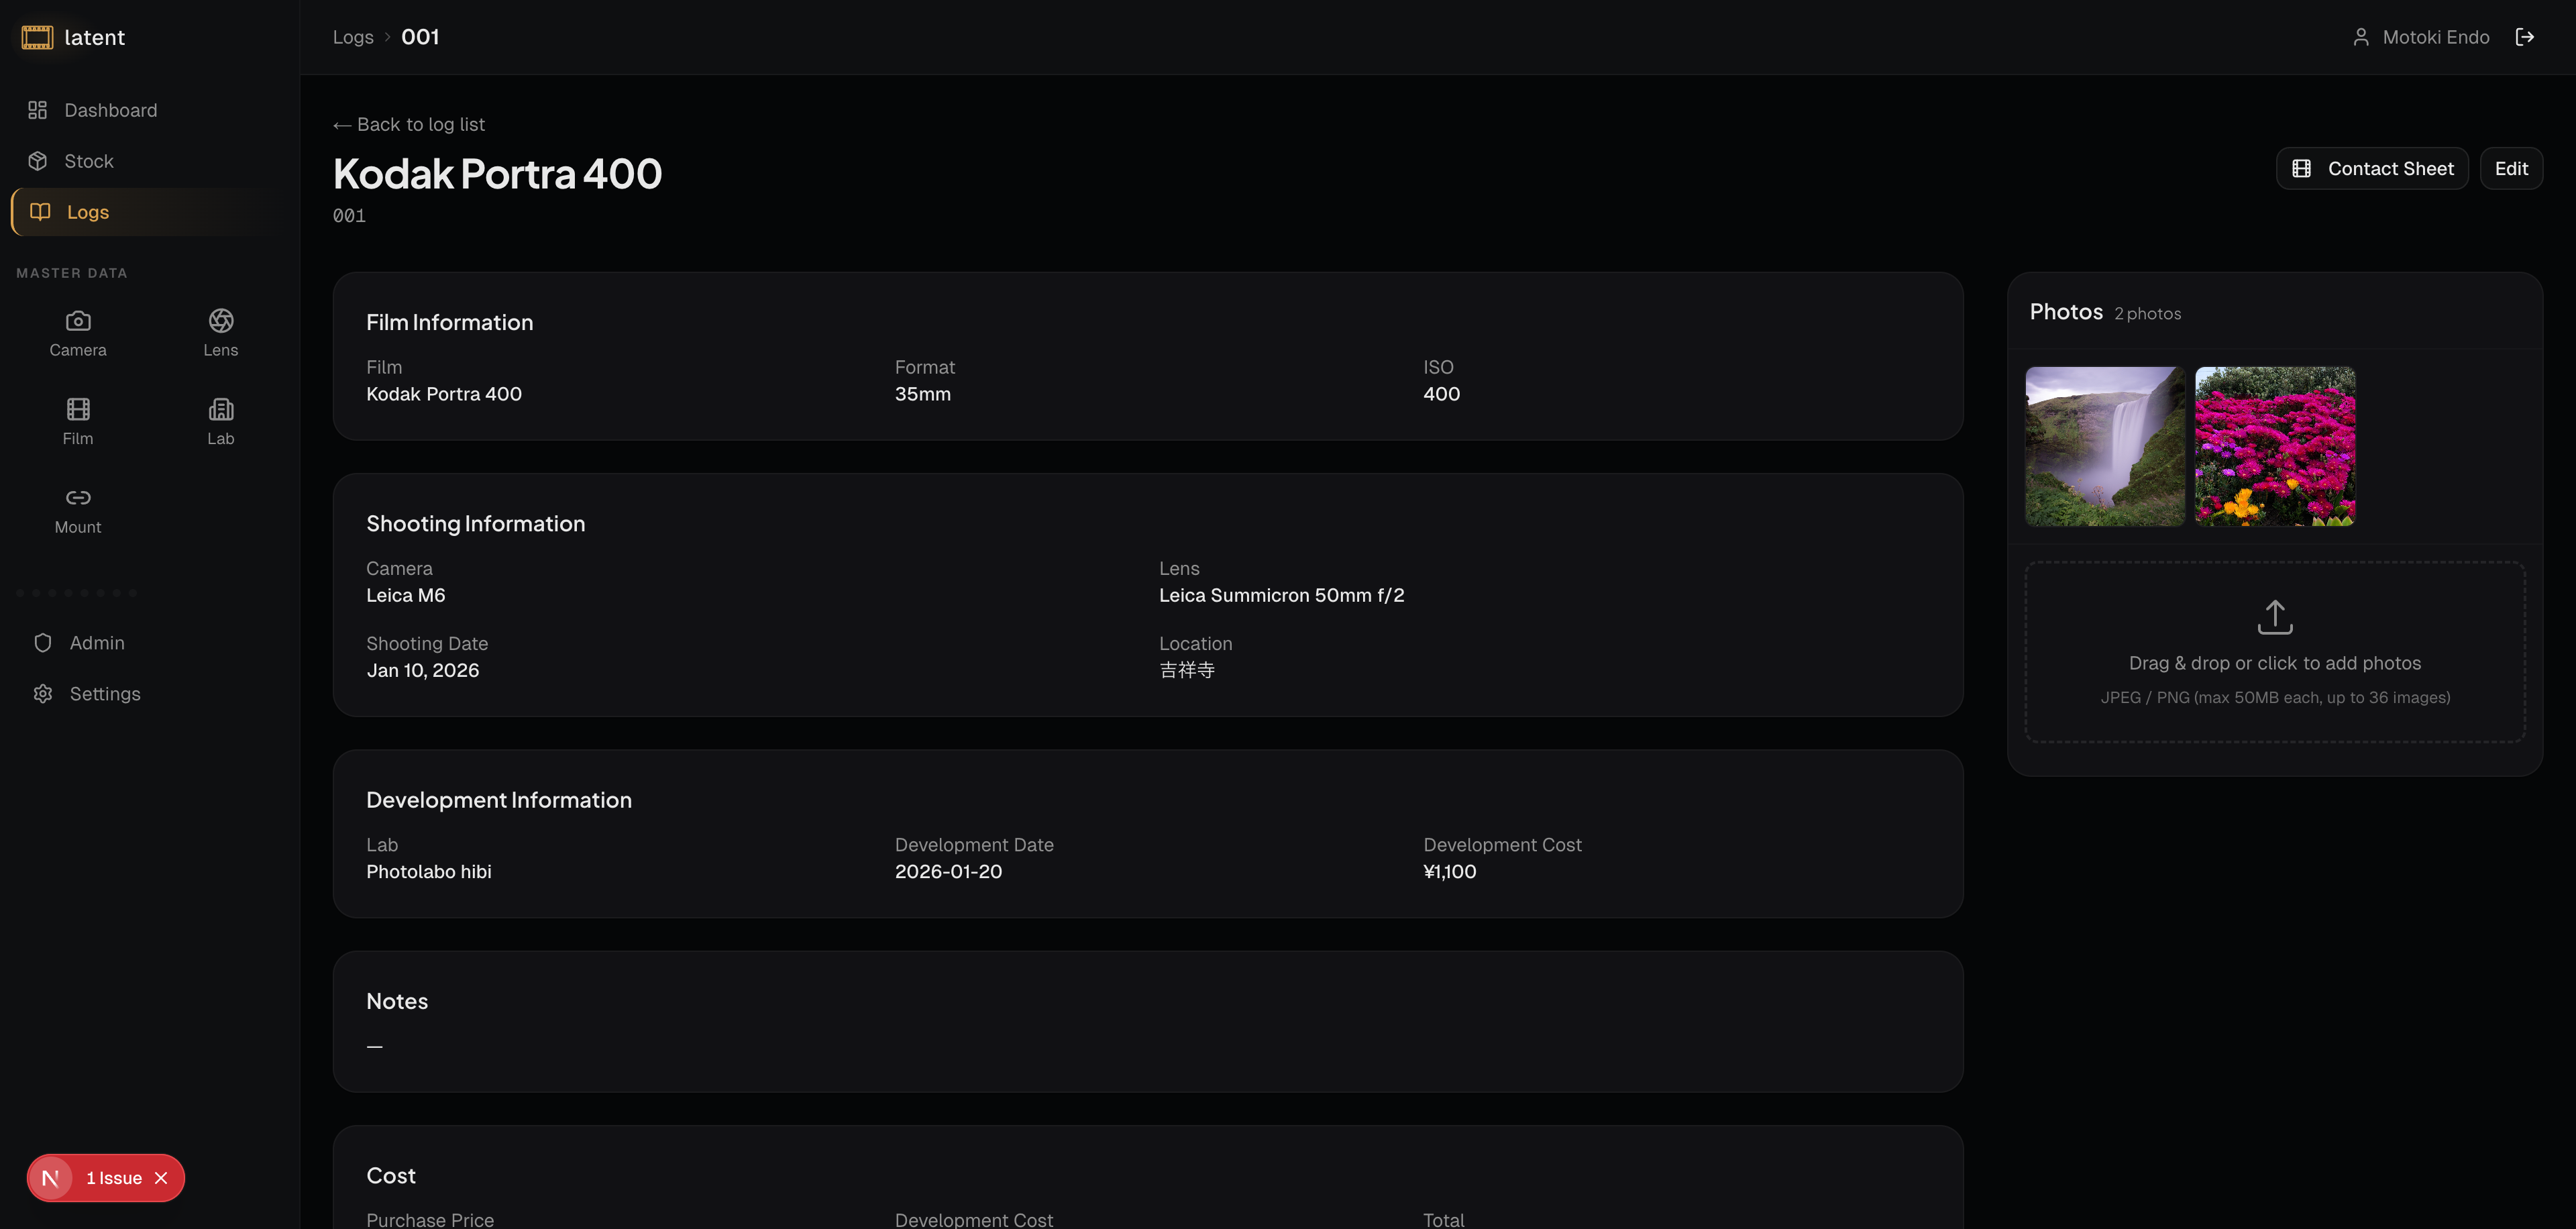
Latent accepts JPEG and PNG image formats. The maximum file size per image is 50 MB.
Upload Limits
- You can upload up to 36 images at a time.
- Each log can hold up to 72 images in total.
What Happens During Upload
- Compression: Latent processes each image through a compression step before storing it. Images are reduced to a maximum resolution of 1920x1080 pixels with a JPEG quality setting of 0.7. This happens automatically — you do not need to resize your scans beforehand.
- Upload to storage: The compressed file is uploaded securely to Latent's cloud storage via presigned URLs.
- Confirmation: Once the upload completes, the image appears in the log's image grid immediately.
Viewing Images
Images attached to a shooting log are displayed in a grid on the log detail page. The grid shows thumbnails sized for easy browsing.
To view an image at full size, click its thumbnail. This opens the lightbox view, a full-screen overlay that displays the image in detail. In the lightbox, you can:
- Navigate between images using the left and right arrow keys
- Close the lightbox by pressing the Escape key
Deleting Images
To remove an image from a log, hover over the thumbnail to reveal the delete button (x icon), then click it.
Deleting an image removes it from the log and from storage. This action cannot be undone, so make sure you have a local backup of any image before deleting it from Latent.
If the deleted image was included in a contact sheet, you will need to regenerate the contact sheet to reflect the change.
Understanding Plan Storage Limits
Latent offers different plans with different image and storage allowances.
| Plan | Image Limit | Storage Limit |
|---|---|---|
| Free | 100 images | 200 MB |
| Light | 1,000 images | 2 GB |
| Pro | 10,000 images | 20 GB |
You can check your current usage at any time in the Settings page under the subscription section. The usage display shows both the number of images uploaded and the total storage consumed.
When you approach your plan's limits, you have two options: upgrade to a higher plan, or delete older images to free up space.
If you are on the Free plan and primarily want to use Latent for metadata tracking rather than image storage, you can still record all your stocks and logs without uploading images. The image upload feature is optional.
Best Practices for Image Management
A few habits make image management in Latent more reliable and efficient:
- Upload as a batch when you receive your scans. It is easier to upload all images from a roll at once than to add them one by one over multiple sessions.
- Keep local backups. Latent stores your images securely, but it is always good practice to maintain a copy on your own hard drive or an external backup service. Do not use Latent as your only copy of irreplaceable images.
- Upload in original scan resolution. Since Latent automatically compresses images on upload, you do not need to pre-process or resize your scans. Upload them as they come from your scanner or lab delivery.
- Check your storage usage periodically. If you shoot a lot of film, your storage can fill up faster than expected. Reviewing usage monthly helps you avoid unexpected upload failures.
Keeping your images organized within Latent's log structure — rather than scattered across folders on your computer — makes it much easier to find specific shots, build contact sheets, and share your work with others. Images are always attached to a shooting log, which is automatically created when you mark a film stock as Done.